
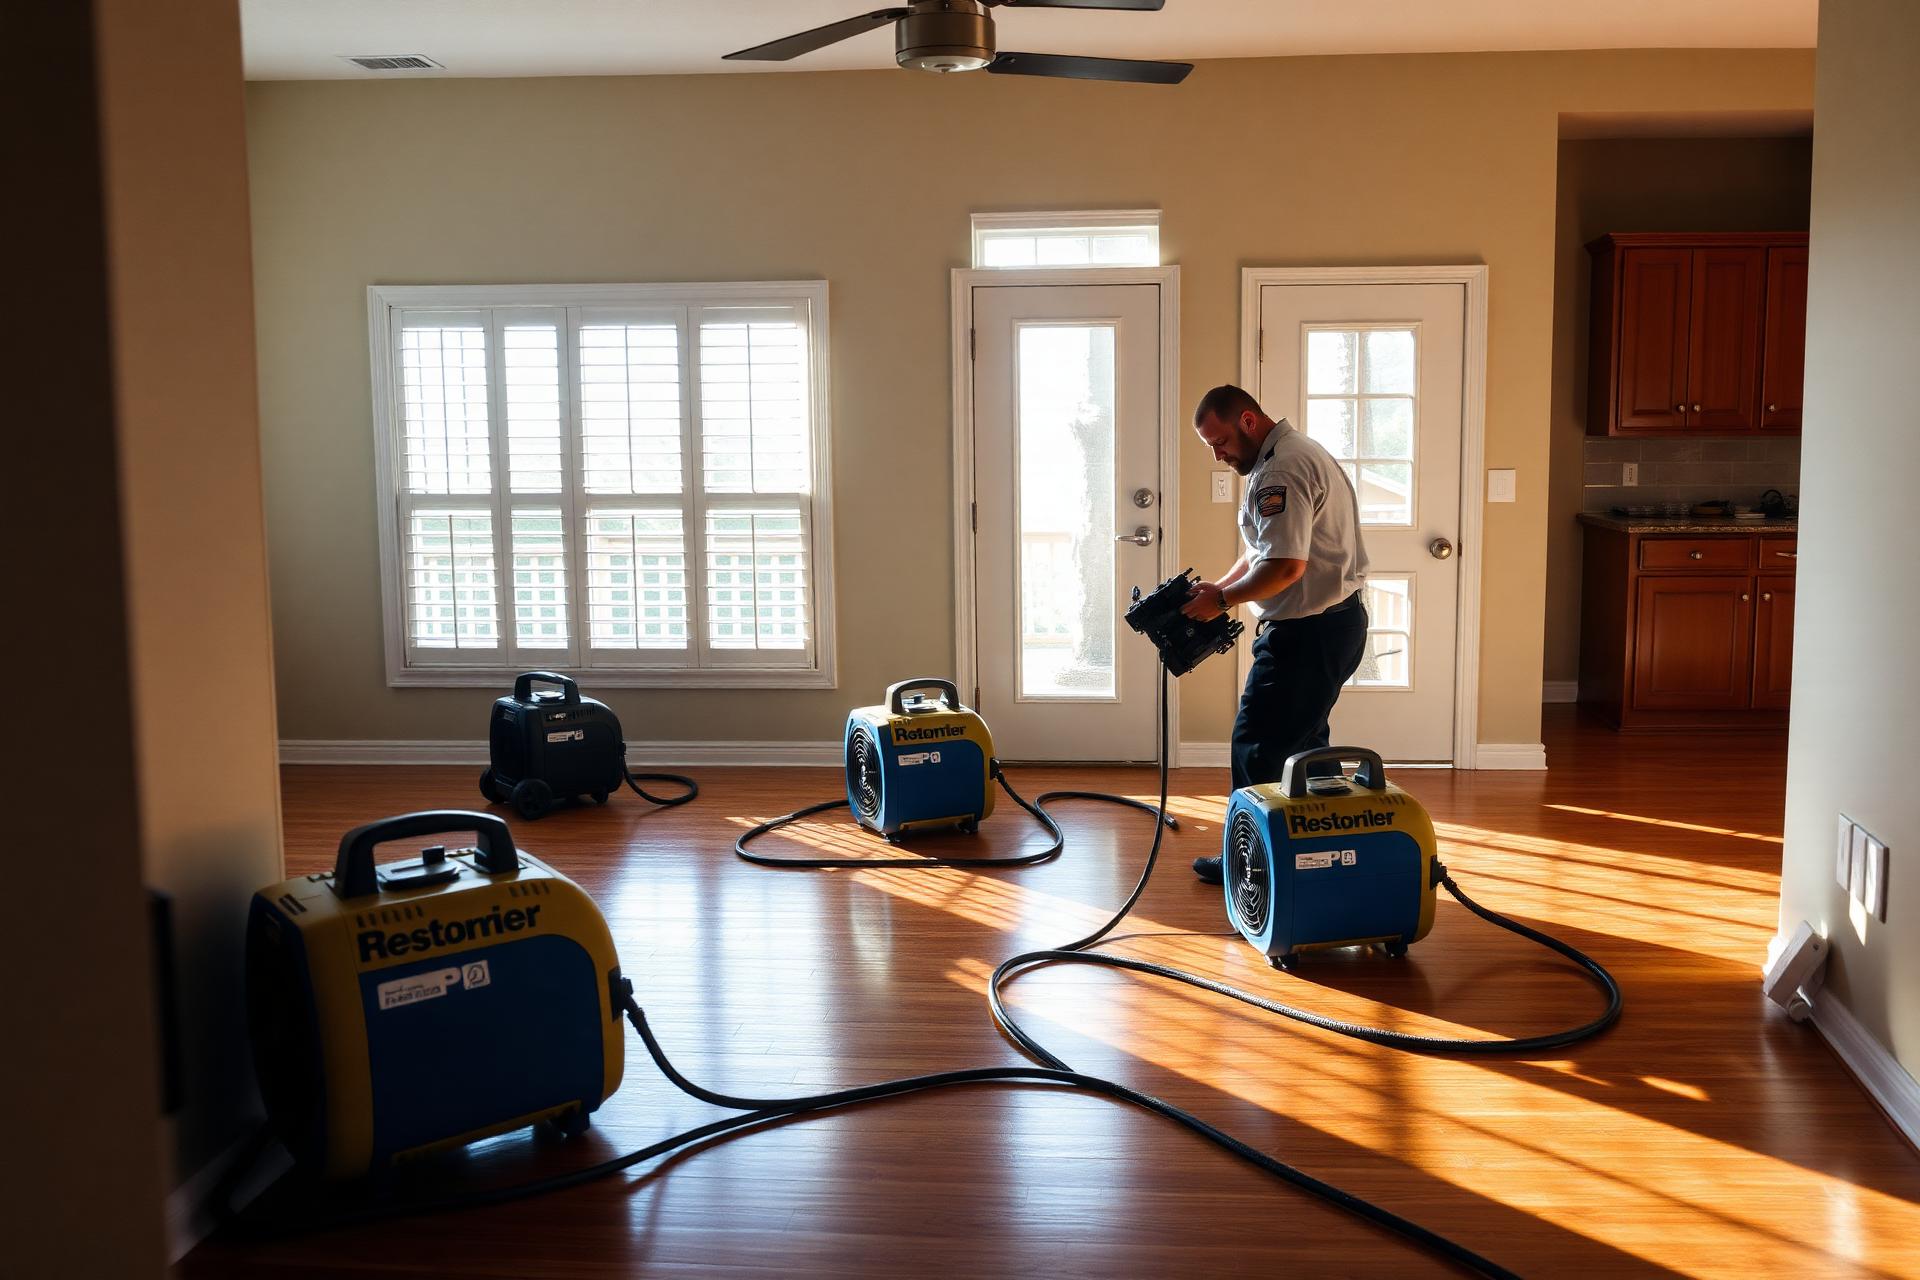
Mold Remediation for Safety Harbor homes
Bayline Restoration Co. provides residential mold remediation throughout Safety Harbor, Pinellas County. Containment, controlled removal, HEPA cleaning, and moisture source correction so growth does not return. We are an independent direct provider based in Tampa Bay, which means the crew assessing your Safety Harbor home is the crew doing the work, and we answer the phone twenty four hours a day.
Safety Harbor is a small waterfront city on the western shore of Old Tampa Bay with a preserved historic downtown, a strong local identity, and a housing mix that ranges from early twentieth century cottages to newer construction on the eastern edge. Restoration work here often involves older assemblies, mature trees close to structures, and homeowners with a strong preference for saving original materials.
Local conditions shape how this specific service is performed here. Bayfront humidity, summer thunderstorm activity, and tropical system exposure. Mature tree canopy across much of the city adds wind and limb risk during storms. Combine that with the housing profile in Safety Harbor and you get a distinct pattern of what fails, how fast it spreads, and what can realistically be saved. A mix of historic cottages and bungalows near downtown, mid-century block homes through the central city, and newer single family and townhome development toward the county line. Older properties frequently have layered renovation history.
Safety Harbor conditions that affect mold remediation
Safety Harbor sits on Old Tampa Bay at the northeast corner of Pinellas County. Waterfront and low lying properties near the bay face surge and heavy rainfall exposure, while inland areas sit at moderate elevation.
Those conditions change the technical plan. Equipment placement, how aggressively we dehumidify, whether materials can be dried in place or need to come out, and how long verification takes are all influenced by the environment surrounding the structure rather than by the loss alone.
- Bayfront wind-driven rain and surge exposure
- Older plumbing in historic and mid-century homes
- Tree limb impact on roofs during storms
- Drying original wood and plaster without unnecessary demolition
- Attic moisture in older ventilation configurations
- Air conditioning related condensate issues in humid months
What causes mold remediation work in a home
Understanding the cause matters because the cause dictates the scope. Two properties with identical visible damage can require completely different work depending on how the damage occurred and how long the condition persisted. These are the situations we respond to most often in Tampa Bay:
- Unresolved water damage that was never dried to standard
- Chronic plumbing leaks under sinks and behind walls
- Air conditioning systems that are oversized and short cycle without dehumidifying
- Condensate overflow and sweating supply lines in wall cavities
- Roof and flashing leaks that wet insulation and sheathing
- High indoor relative humidity in a coastal climate
- Poor attic ventilation and missing vapor control
- Building envelope failures that allow wind-driven rain intrusion
Why fast, correct action matters
Delay is the single largest cost multiplier in restoration work. The difference between responding within hours and responding within days is frequently the difference between drying and cleaning materials in place versus removing and rebuilding them. In a coastal Florida climate, ambient conditions work against you nearly every month of the year, so problems that might resolve on their own in a dry region simply do not here.
- Porous materials such as drywall, insulation, and pad hold growth that cannot be surface cleaned
- Improper removal disperses spores throughout the building
- Chronic moisture degrades framing and sheathing over time
- Occupants with allergies or respiratory conditions may react to elevated indoor spore counts
- Odor persists in cavities and reactivates with humidity
- Undisclosed growth complicates property transactions and lease disputes
Signs your home needs professional attention
Not every problem announces itself. Many of the calls we take start with a homeowner noticing something subtle and deciding to investigate rather than wait. These indicators are worth acting on:
- A musty, earthy smell that is strongest in closets or near the air handler
- Visible discoloration on baseboards, drywall, or the back of furniture
- Recurring allergy-like symptoms that improve away from the property
- Peeling paint or wallpaper bubbling on an exterior wall
- Condensation on registers, windows, or supply lines
- A prior water event that was cleaned up but never professionally dried
Our mold remediation process
We work through a defined sequence on every project. The sequence exists because skipping or reordering steps is what causes work to be redone, and redone work is paid for twice.
- Step 1
Inspection and moisture source identification
Remediation starts with finding the water. Meters, thermal imaging, and inspection of the mechanical system determine whether the source is a leak, an envelope failure, or chronic humidity, because removing growth without correcting the cause guarantees recurrence.
- Step 2
Containment construction
The work area is isolated with polyethylene barriers and, where warranted, a decontamination entry. Negative air pressure is established with HEPA filtered machines so air moves into the containment and never out into occupied space.
- Step 3
Air filtration and pressure management
HEPA air scrubbers run continuously through removal and cleaning to capture airborne particulate. Pressure differentials are monitored so containment is verified rather than assumed.
- Step 4
Controlled removal of affected materials
Contaminated porous materials are cut out and bagged inside containment. Cut lines extend beyond the visible growth boundary because colonization commonly extends into material that still looks clean.
- Step 5
Cleaning of semi-porous and non-porous surfaces
Framing, concrete, and hard surfaces are HEPA vacuumed, damp wiped, and treated with appropriate antimicrobial agents. Where staining remains on structural wood, controlled abrasive cleaning is used.
- Step 6
Structural drying
The assembly is dried to standard with dehumidification and airflow so the environment no longer supports growth. Remediation without drying is incomplete work.
- Step 7
Post-remediation verification
The area is visually inspected and, where the situation calls for it, evaluated by an independent indoor environmental professional. Third-party clearance keeps the verification separate from the party performing the removal.
- Step 8
Reconstruction and prevention
Removed assemblies are rebuilt and the underlying condition is corrected, whether that is a plumbing repair, drainage change, ventilation improvement, or a dehumidification recommendation for the building.
Equipment and methods we use
Professional results depend on professional equipment used correctly. Rental units and consumer tools are not sized, instrumented, or filtered the same way, and the gap shows up in outcomes rather than in the first hour of work.
- HEPA filtered negative air machines
- HEPA vacuums and air scrubbers
- Polyethylene containment and decontamination chambers
- Manometers for pressure differential monitoring
- Moisture meters and thermal imaging cameras
- Antimicrobial and encapsulant application equipment
- Controlled abrasive cleaning systems for framing
- Commercial dehumidification for post-removal drying
Standards we work to
We work to accepted remediation practice: containment sized to the affected area, negative pressure with HEPA filtration, removal of porous materials beyond the visible boundary, HEPA cleaning of remaining surfaces, drying to standard, and verification before rebuild. We recommend independent post-remediation verification rather than self-clearing our own work.
Bayline Restoration Co. is an independent direct provider, which means the crew that assesses your home is the crew that performs the work. There is no national call center routing your address to whichever contractor happens to be available, no lead fee baked into your invoice, and no gap between what was promised on the phone and what shows up in the driveway. When you call, you reach people who work in Tampa Bay and who will be standing in your building.
That structure matters most when something goes wrong or the scope changes mid-project. A single accountable team means one set of documentation, one point of contact, and one party responsible for the result. We answer the phone twenty four hours a day because water, smoke, and storm damage do not observe business hours, and the first few hours of a loss determine most of what the repair will ultimately cost.
Residential scope we handle
Residential projects in this category regularly include the following. If your situation is not listed, it is still worth a call, because most of what we do is a variation on these scenarios.
- Bathroom, kitchen, and laundry area growth from chronic leaks
- Attic mold from ventilation and roof leak conditions
- Air handler closet and duct-adjacent growth
- Behind-cabinet and under-sink colonization
- Whole-home humidity assessment and correction guidance
- Pre-sale and post-purchase remediation with documentation
What to do before we arrive
There are useful things you can do in the first hour, and there are things that make the job harder. This list covers both.
- Do not disturb, scrub, or sand visible growth, which aerosolizes spores
- Limit access to the affected area and close interior doors
- Fix or shut off any active water source immediately
- Photograph the affected area before anything is touched
- Run the air conditioning to keep indoor humidity down, but do not point fans at growth
- Remove valuables and porous belongings from the area if they can be moved without disturbance
- Note when the moisture event happened, since timeline affects both scope and coverage
Common mistakes to avoid
These are the errors we are called in behind most often. None of them are unreasonable choices in the moment, and all of them cost money later.
- Step 1
Spraying bleach on it
Bleach is largely water, it does not penetrate porous materials, and it can add moisture to the very substrate feeding growth. Surface discoloration disappears while the colonization inside the material continues.
- Step 2
Removing material without containment
Cutting into contaminated drywall without isolation distributes spores throughout the building, turning a contained one-room problem into a whole-property cleaning job.
- Step 3
Treating the growth and ignoring the water
Every recurrence we are called back to inspect traces to a moisture source that was never corrected. The water is the root cause and the mold is the indicator.
- Step 4
Rebuilding immediately after removal
Closing a wall before the cavity has been dried and verified traps moisture behind new material and restarts the cycle out of sight.
- Step 5
Relying on the remediator to clear its own work
Independent verification separates the party doing the removal from the party confirming it worked, which protects the property owner and stands up better in a transaction or dispute.
How long the work takes
A single-room remediation with containment typically runs two to four days including drying and verification. Multi-room or whole-building projects extend from there, and any project involving third-party clearance testing includes a lab turnaround window that is outside our control. Reconstruction follows verification and is scheduled separately so no new material is installed into an environment that has not passed.
Every project starts with a conversation about what happened, followed by an on-site assessment. We walk the affected areas with instruments rather than assumptions, define the actual scope, and explain what we found in plain language before any equipment comes off the truck. You will know what we plan to do, roughly how long it will take, and what drives the cost.
From there the work proceeds in documented phases. We photograph conditions, log readings where the job involves moisture, and provide updates as the project moves. When the scope needs to change because we discovered something behind a wall, we tell you before we act on it, not after. At completion you receive a documentation package covering the mold remediation that is suitable for your records or your insurance carrier.
Insurance and documentation
Mold coverage varies widely by policy and is frequently capped or excluded when growth results from long-term maintenance issues rather than a sudden covered event. Where mold follows a covered water loss that was reported promptly, remediation is more often included. We document conditions, moisture readings, and scope thoroughly so the claim decision rests on evidence, and we tell you plainly when we believe a scope is unlikely to be covered.
We do not tell you what your carrier will or will not pay, because that is their decision and your policy. What we control is the quality of the record: photographs taken before anything is disturbed, instrument readings logged over time, a line-item scope tied to the work actually performed, and a clear explanation of every item on it. A well documented file is the most effective thing a homeowner can bring to a claim conversation.
Preventing a repeat
Once the immediate problem is resolved, the useful question is how to keep it from happening again. These measures address the conditions behind most of the calls we take:
- Keep indoor relative humidity in the range of forty five to fifty five percent
- Address any leak within twenty four to forty eight hours
- Service the air conditioning system so it dehumidifies properly rather than short cycling
- Improve attic ventilation and confirm insulation is dry and intact
- Use exhaust fans in bathrooms and kitchens and vent them outside
- Keep furniture slightly off exterior walls to allow air movement
Mold Remediation questions we hear most
These are the questions homeowners ask us most often about mold remediation. If yours is not covered here, call and ask. We would rather answer a question than have you guess.
Do I need mold testing before remediation?
Not always. Visible growth with a known moisture source can proceed straight to remediation. Testing is most valuable when the source is unclear, when occupants report symptoms without visible growth, or when a transaction or dispute makes independent documentation important.
Can I clean small mold spots myself?
A small area of surface growth on a hard, non-porous surface can often be cleaned by a homeowner. Growth on drywall, insulation, carpet pad, or any area larger than a few square feet involves porous material and should be contained and removed professionally.
Will the mold come back?
Only if the moisture returns. Remediation removes the growth, and correcting the water source prevents recurrence. That is why our scope always includes identifying and addressing the condition that allowed it.
Is the smell alone a sign of mold?
A persistent musty odor usually indicates microbial activity somewhere, often inside a cavity or in ductwork where nothing is visible. It is worth investigating with meters and imaging rather than dismissing.
How long does remediation take?
Most single-area projects run two to four days including containment, removal, cleaning, and drying. Verification testing adds lab turnaround time, and reconstruction is scheduled after the area passes.
Do you provide clearance testing?
We coordinate independent third-party post-remediation verification rather than clearing our own work, because separating removal from verification is better practice and better documentation for the property owner.
Neighborhoods we cover for mold remediation in Safety Harbor
We provide this service across all of Safety Harbor, including these areas:
- Downtown Safety Harbor
- Harbor Oaks
- Green Springs
- Bayview
- Briar Creek
- Weathersfield
Getting a crew to your Safety Harbor property
Safety Harbor is served directly from our north and mid Pinellas routes, with quick access from the Clearwater and Oldsmar corridors.
Reference points we route around in and near Safety Harbor include Safety Harbor Marina and pier, Main Street historic district, Safety Harbor Resort and Spa, Philippe Park, and the surrounding corridors. We serve ZIP codes 34695 and the adjacent areas of Pinellas County.
Bayline Restoration Co. is an independent direct provider, which means the crew that assesses your home in Safety Harbor is the crew that performs the work. There is no national call center routing your address to whichever contractor happens to be available, no lead fee baked into your invoice, and no gap between what was promised on the phone and what shows up in the driveway. When you call, you reach people who work in Tampa Bay and who will be standing in your building.
That structure matters most when something goes wrong or the scope changes mid-project. A single accountable team means one set of documentation, one point of contact, and one party responsible for the result. We answer the phone twenty four hours a day because water, smoke, and storm damage do not observe business hours, and the first few hours of a loss determine most of what the repair will ultimately cost.
Don't Let It Spread. Call Now.
24-hour response across Tampa Bay. Speak with the crew that does the work.